GCP – Stay informed by customizing your budgets
TL;DR: By default, budget alerts only go to Billing Account Administrators and Billing Account Users. You can easily add up to 5 more custom emails by using a Cloud Monitoring channel. Try to send to groups, not individuals!
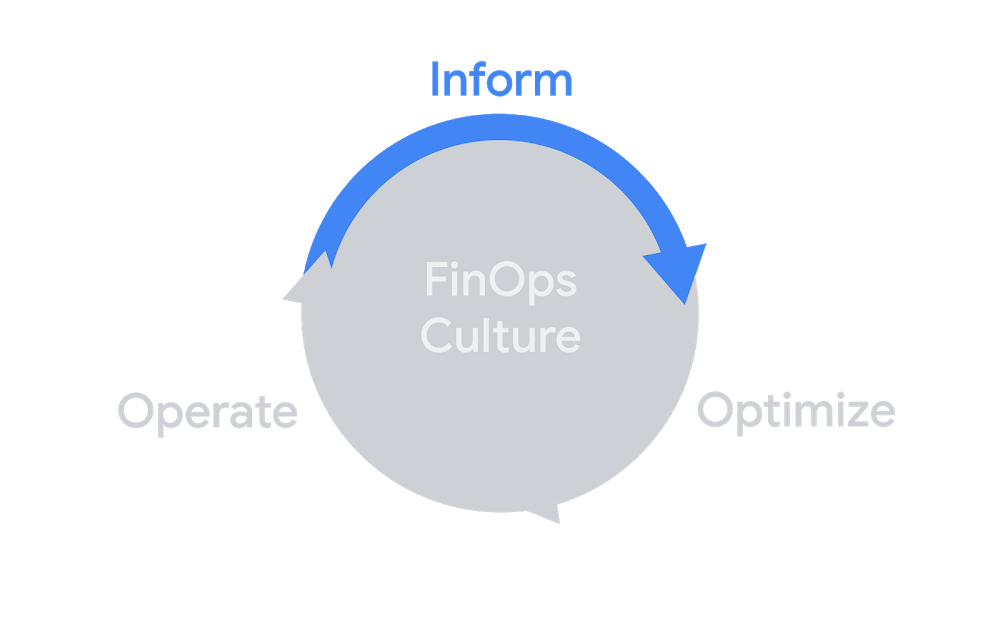
Budgets and alerts fit well into the inform phase of the FinOps lifecycle for visibility
My last post went over how to set up budgets and why you should definitely set them up (probably in too much detail). It’s definitely important to have a budget, but alerts for these budgets only go to Billing Account Administrators and Billing Account Users. So what happens when you want to keep more people informed of the budget status?
Well, you could add them to the billing account as users or administrators, but then they might end up with more permissions than you want them to have. For example, users can link projects to a billing account, and that’s not something you may want to allow a bunch of people to do (least privilege and such). Instead, thanks to a new feature, you can easily add up to 5 email addresses that you specify to get alerts as well! So, let’s walk through exactly that.
It’s basically just one checkbox
First, you can go through setting up a budget just like the last post covered, or you can modify an existing budget. As you get to the end of setting up the budget, you’ll see this checkbox.

That’s the checkbox I mentioned earlier
The next step should be pretty obvious, so go ahead and check that box! Now you’ll have to select a workspace with the notifications channels you want to use.
These workspaces are for Cloud Monitoring (previously Stackdriver) and are basically ways to help you organize what you’re monitoring. You can read more about workspaces here but we don’t really need to know any of the finer details about them to add these budget alert emails. Chances are, you may not have a workspace if you haven’t worked with Cloud Monitoring, so let’s pause here and go set up a workspace.
Okay, so maybe it’s more than just one checkbox
This part is pretty easy as well, but there’s an important note here. Workspaces are attached to projects, not billing accounts, so you’ll need to have a project that you want to use with this. I recommend creating a new project where you’re the owner and you just use it for these notifications. We’ll look at some other things in the future that require a project so you can use that same project for those assets as well!
If you’re not sure how to create a new project, head to the console home screen. At the top left-ish, you’ll see a project selector that shows you the currently selected project. Clicking on that will pop up some options to choose a project or create a new one.
If you haven’t created a workspace before, just use the left-nav and click on Monitoring under Operations to automatically create one for your current project.

Creating a workspace may take a few moments, so grab a cup of tea while you wait
Once you’ve created a new workspace, you can go back to creating/editing a budget and once again, check that box!
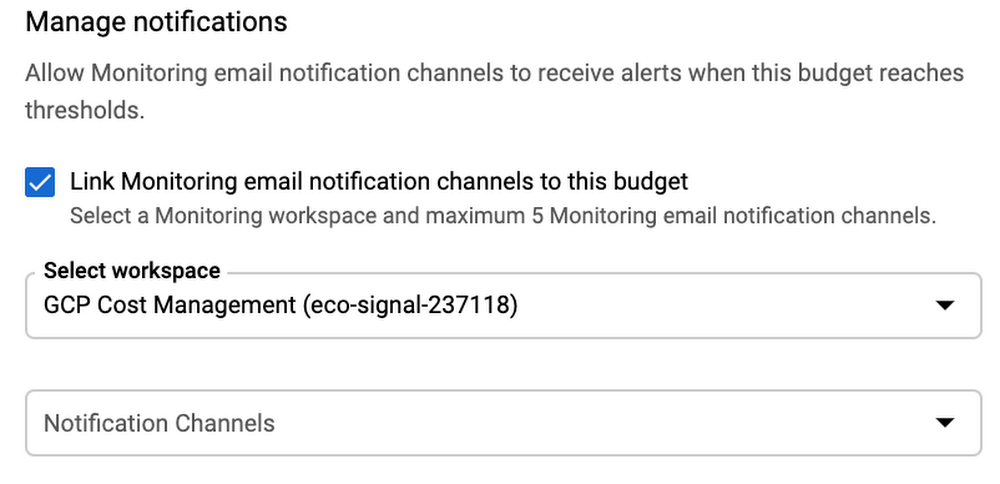
Those of you with a keen eye will notice it’s still the same box
Hurray, you’ve now selected a workspace, but you still need to select our emails. Opening up the notification channels box will show an empty list if you haven’t added any notification channels (especially so if this is a new workspace) so you’ll need to follow that link that says “Manage Notification Channels” which will hopefully open in a new window.
Hey, this is more than just one checkbox
Alright, I’m sorry for dragging you back and forth but we’re almost done! I also find it a bit easier to interact with from the budget side rather than poking around the Cloud Monitoring interface. Either way, you should see a list of potential channels, such as Slack, webhooks, email, and more. Go ahead and use that “Add New” button next to email, which will cause this to pop up.
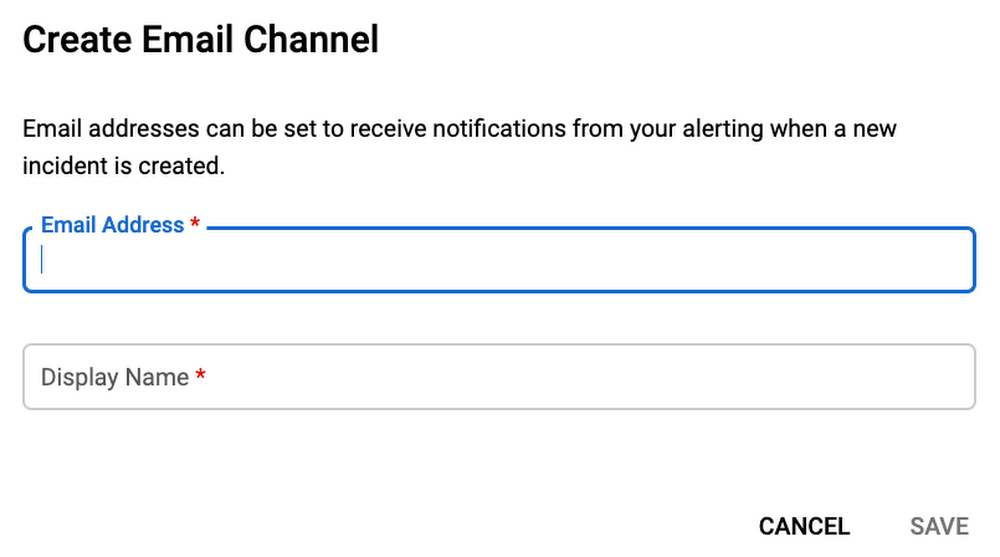
Each email you add will need the email and a display name
So, go through this process and add the emails you’re looking to send budget alerts to. One best practice worth noting:
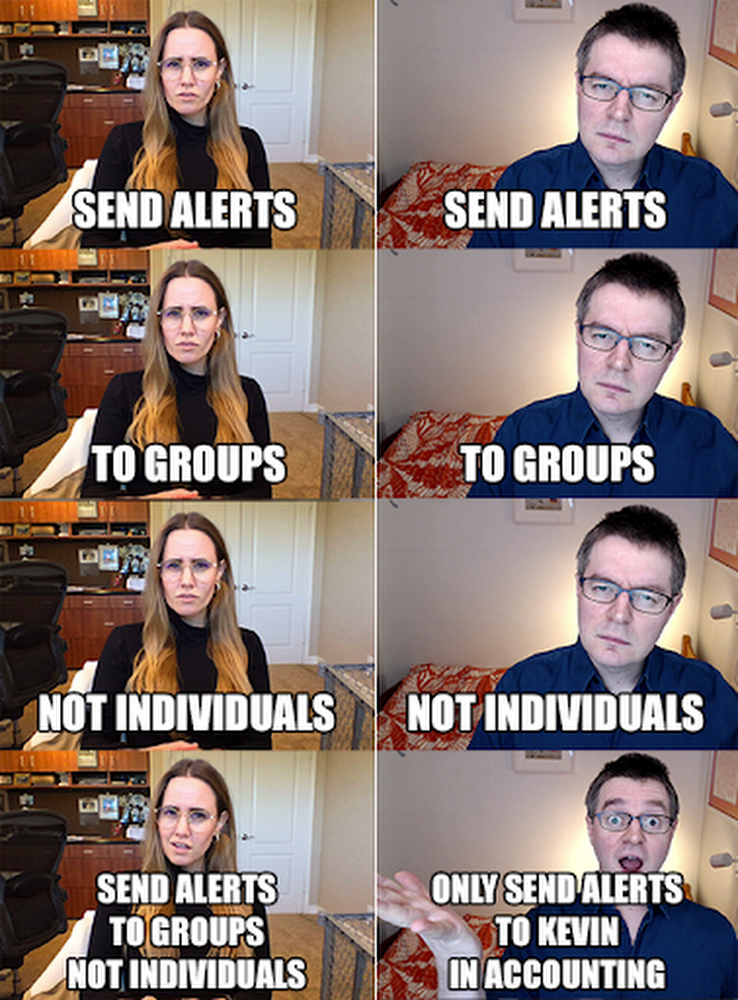
This really makes me appreciate having great friends in the office
In general, you should try to use groups instead of individual users whenever possible. Whether it’s permissions or these budget alerts, it’s likely your teams will change over time and it’s a lot easier to manage a group through G Suite or whatever other interface than it is to constantly go back and update budgets.
It’s also worth noting that if you spam a ton of people with budget alerts, no one will care about this budget alert. So think about who in your organization/team will actually care about these alerts. Will it be someone from the engineering team who can shut down the resources? Or perhaps someone from the finance team who wants to measure the spending? Maybe even a centralized FinOps team? Either way, you have the power to choose what makes the most sense for each budget!
Go through and add a few emails and once you’re done, go back to the window where you had your budget. There’s a little “refresh” icon at the bottom of the selector so you can reload the list and add the emails you just entered.
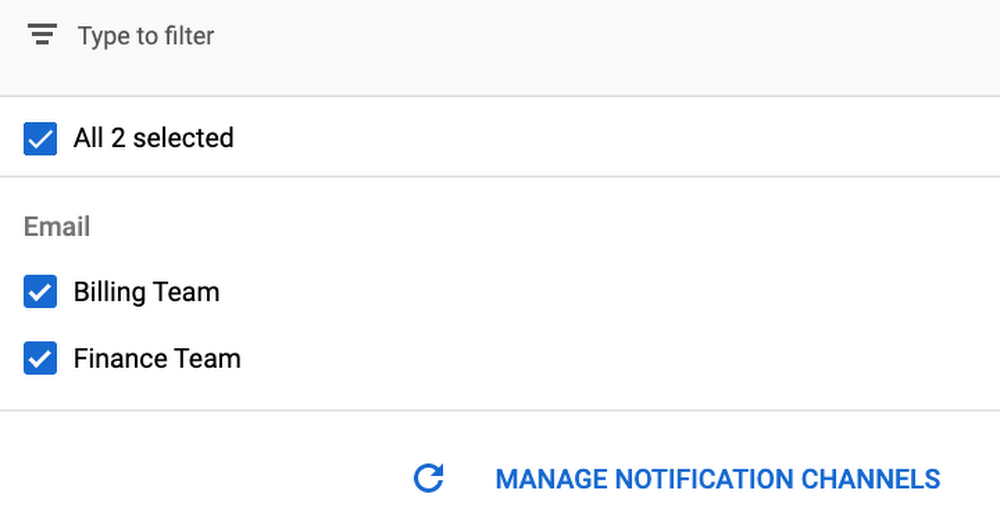
By using group emails, you won’t have to update the budget itself
Select the emails that you want to be notified, save your budget, and you’re done!

By default, this will be enabled
If you only want to send alerts to the emails you set up manually, go ahead and uncheck this option. Especially when creating lots of budgets, it may make sense to let your billing admins and users avoid receiving those alerts. Specific budgets, such as ones that cover one of your company’s applications, are likely to be more useful for the application team rather than for everyone on the billing account.
Alright, technically it was several checkboxes
So, as you can see it’s relatively straightforward to add more people to your budget alerts. On top of that, you can add plenty of notification channels to your workspace, and then choose the right channels for each budget you have. Each budget can only have up to 5 channels, so that’s another good reason to use group emails.
That’s an easy way to add more people/groups to your budget alerts, which makes budgets even more useful. You can read the full documentation here if you want more details. Now you can sit back, relax, know that the right teams will be notified about your budgets.]
Stay tuned for the next post where we get to automate things with programmatic budget notifications!
Read More for the details.


