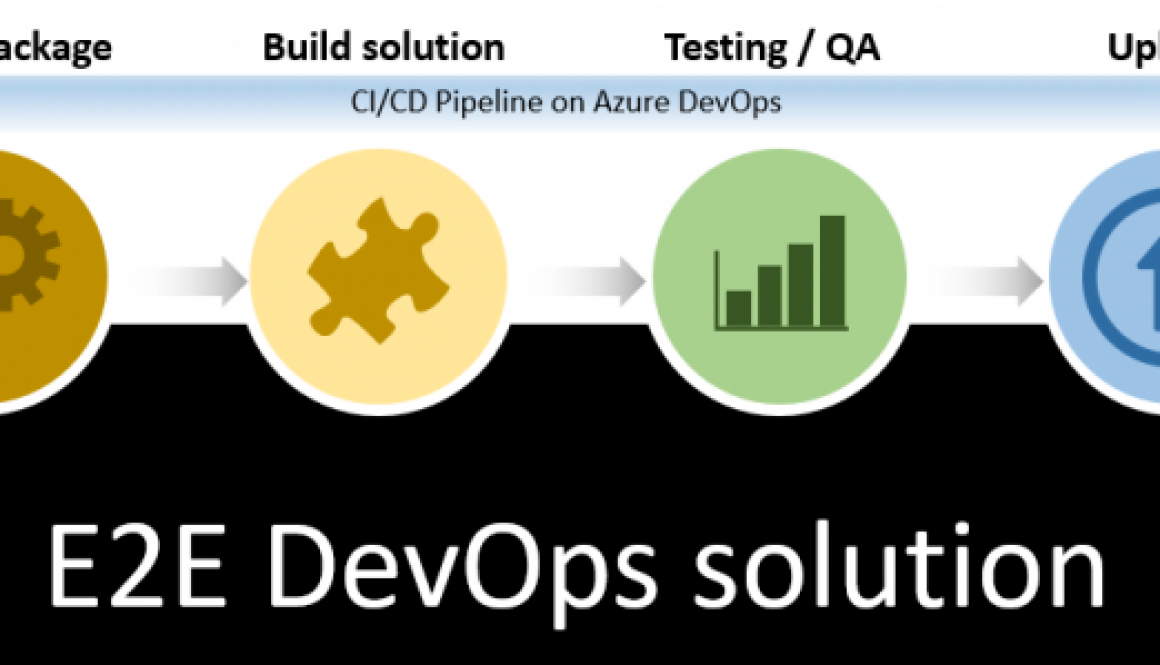
In this serie I show you how you can create a PyPi ready solution which is stored on GitHub and has fully automatized build-test-deploy CI/CD pipeline in Azure DevOps. Furthermore you will be able to use it from command line like azure-cli or aws-cli.
Table of content
Last time we created our first pipeline for staging branch. Now we create the pipeline in Azure DevOps for master branch.
This it the pipeline which transports our code to PRODUCTION (live). As last time I mentioned Staging is important from quality perspective. Because this ensures to check your code before production (live).
Accordinglycreate a pipeline which starts when a pull (merge) request is executed into master branch on Git. Then it compiles the code then uploads to Prod-PyPi.
The pipeline creation for master branch has the next steps:
- Create basic pipeline (check changes on Git)
- Compile and upload package
- Merge Staging to Master on Git
- Check result on Azure DevOps
- Check result on Prod PyPi
1. Create basic pipeline (check changes on Git)
1. Let’s open our project landing page.
And click on “Pipelines” menu item on left side of screen.
We already have a pipeline (for staging). You can see the following screen.
2. Here you merely click on + New button above the staging pipeline and choose New build pipeline.
3. On next screen you choose the “Use the classic editor” option under the three other code.
4. Choose GitHub option at Select source screen.
5. Click on three point “…” at Repository part then select the right repository (pypi-project) and right branch (master) from GitHub. Then click on Continue button.
6. On next screen you should define the pipeline template. Remember we would like to create a pipeline which will build and deploy Python package to Pypi. Therefore you should choose the Python Package template from the list. Then click on Apply button.
Wow. As you can see on next screen we have a pipeline which seem pretty good. 🙂
7. Here we need to add a Name for our pipeline. (Because this is the master related pipeline, my suggestion is: master – pypi-project)
Then choose Hosted VS2017 from list under Agent pool.
8. Now we have to delete some steps and stages from the default pipeline. So please click on (right button of the mouse) then choose Remove selected the following items:
- Flake
- pytest
- Publish Test Results **/test-results.xml
And keep only the Build and Test stage/job.
9. Rename Build and Test stage to Build and Publish. Then choose the None under Parallelism section. And under Run this job choose the Only when all previous jobs have succeeded option.
10. Click on Triggers tab and under Continuous integration choose your git repository. Then on the right side tick Enable continuous integration. And be sure the master branch is the selected under Branch filters.
2. Compile and upload package
In this section we configure steps inside pipeline to compile our code the upload to Prod-PyPi.
11. Click on Variables tab and modify the python.version value to 2.7
12. Go back to Tasks tab then click on Install dependencies task and replace the Script content to this:
python -m pip install --upgrade pip && pip install -r pypi/requirements.txt
13. Now click on + to add a new Command Line task to Build and Publish stage. Then click on Add button.
14. Select newly added task, rename it to Build sdist & bdist_wheel. Then insert into script section the following:
python setup.py sdist bdist_wheel
This task is required to build python package.
15. Add a new Python Twine Upload Authenticate task with + on Tasks tab. Then click to Add button.
16. Select newly added task, rename it to Twine Authenticate to PyPi – MASTER. Then under Feeds from external organizations choose the Pypi related connection. (pypi-project on PyPi prod)
This will create the connection with Prod PyPi to upload your freshly built package.
17. Finally add a new Command Line task with + on Tasks tab. Then click to Add button.
18. Select newly added task, rename it to Use a custom twine task to publish. Then insert into script section the following:
twine upload dist/* -r the1bitdemo --config-file $(PYPIRC_PATH)
Please be sure the value after -r is same you defined at EndpointName in prod PyPi connection.
This uploads out package to PyPi where we configured the connection in Part 3: Azure DevOps preparation.
19. Last but not least save out pipeline so click on Save button on screen.
20. In the screen we should add the comment information. Then click on Save button.
3. Merge Staging to Master on Git
In this steps we do a standard Pull request from Staging branch to Master branch.
21. Open your project on Git.
22. Choose Pull requests from menu under project name
23. Click on New pull request
24. Under “Comparing changes” you can see the destination and the source branches for merge. Please be sure you can see the following:
Destination: master
Source: staging
25. Then click on Create pull request
26. On the next screen you write a comment then click on Create pull request button.
27. Now Git checks whether the merge is possible or not. If there is no conflict (everything is green) you can finalize the merge. So click on Merge pull request button.
28. Finally confirm merge
29. Done. Lets check master branch on Git.
And now let’s check our pipeline in Azure DevOps.
4. Check result on Azure DevOps
30. In Azure DevOps click on Builds on left side of screen then choose master – pypi-project you can see the status of your build. (It was initiated by Pull request on Git)
It’s great…Let’s check it on Prod PyPi
5. Check result on PyPi
31. Open in your browser the https://pypi.org/
32. Type pypi-project into search field then hit enter.
33. Choose the from the list
Awesome!…This is ours. And anybody can install it….We are done. 🙂
Next time we will improve our project with some test case related steps. Now you can implement your pipelines. 🙂


